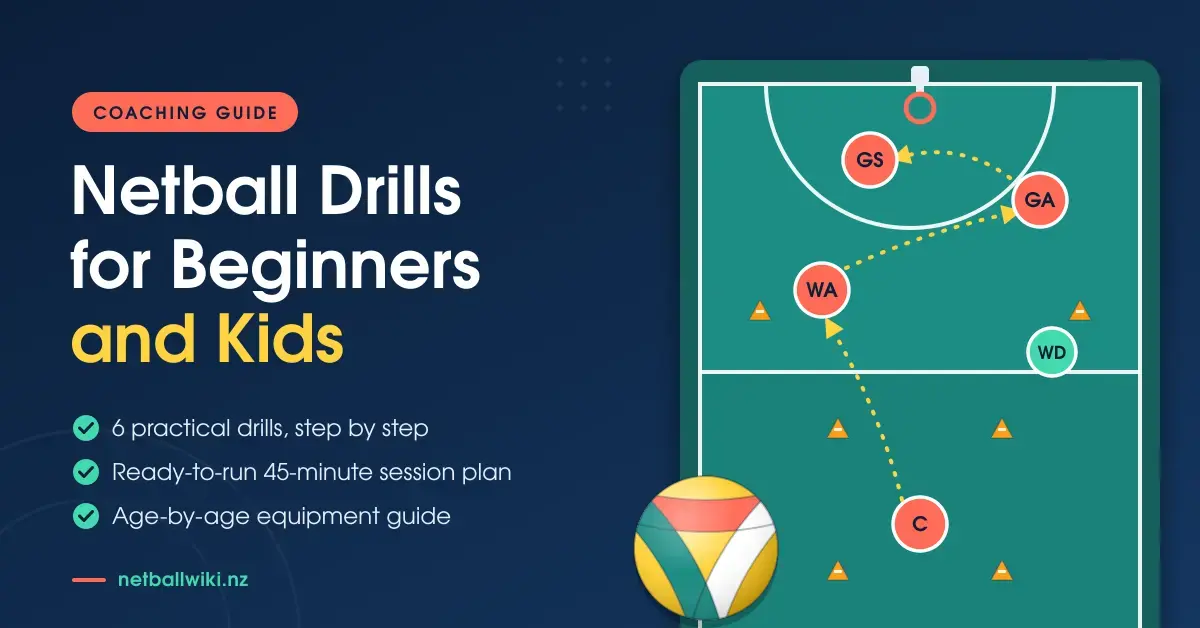
Coaching netball to beginners and children comes down to two priorities: keep everyone moving, and teach the handful of rules that make netball different from every other ball sport before you worry about anything else. This guide sets out six practical drills with full instructions, a ready-to-run 45-minute session plan, an age-by-age equipment guide built on New Zealand’s Woolworths futureFERNS programme, and the mistakes most volunteer coaches make in their first season.
Start with the rules that catch beginners out
Three things trip up almost every new netballer, whatever their age. Get these across early and the rest of the game makes far more sense.
You cannot run with the ball. The first foot to touch the ground after you catch is your landing foot. You may step with the other foot and pivot (turn) on the landing foot, but the ball must leave your hands before the landing foot re-grounds. Dragging, sliding or hopping on that foot is called “stepping” and gives the ball to the other team.
You have a limited time to pass. Under full rules a player holds the ball for no more than three seconds. Beginners consistently underestimate how short that is, which is why junior futureFERNS grades give younger players five seconds while the habit forms.
You can only go where your bib allows. Every player wears a bib with letters (GS, GA, WA, C, WD, GD, GK) that set which thirds of the court and which goal circles they may enter. Our netball positions guide sets out each role, and the complete guide to netball rules covers the finer points.
Teach footwork first, because everything else builds on it. If you want a checklist of the specific faults to watch for, our breakdown of common footwork errors is a useful companion.
Key rules for beginners
The four rules to teach first:
- No running with the ball — the first foot to land is your landing foot; you may step and pivot on it, but the ball must leave your hands before that foot re-grounds.
- Pass in time — three seconds to pass or shoot under full rules (five seconds in Year 1–6 futureFERNS).
- Stay in your area — the letters on your bib set which thirds of the court and which goal circles you may enter.
- Defend at distance — a defender’s nearer foot must be at least 0.9m from the ball-carrier’s landing foot (1m in junior futureFERNS).
Six netball drills that build the fundamentals
These six drills run in a small hall or on a single court, use minimal gear, and scale from five-year-olds to adult beginners. Each one isolates a single skill so players can feel what “right” actually is before you add pressure.
Six drills at a glance
| Drill | Players | Equipment | Trains |
|---|---|---|---|
| Freeze and pivot | 3 | 1 ball | Landing and pivoting cleanly |
| One-two stop | 4 | 2 balls, 4 cones | Stopping under momentum |
| Captain’s wheel | 6–7 | 1–2 balls | High-volume passing, no queue |
| Grid escape | 5–7 | Cones, 1 ball | Spacing; curing the beehive |
| Hold the distance | 3 | 1 ball | Legal defending distance on the pivot |
| Clockwork shooter | 2–5 | Post, cones, balls | Shooting from varied angles |
1. Freeze and pivot
Setup: Small groups of three, one ball, open space.
Run it: A player jogs forward, receives a pass, lands, and freezes completely. The coach calls “freeze” and everyone checks their own feet — which foot landed first, and is it still planted. The player then pivots on that landing foot to face a new direction and passes on.
Why it works: It separates the landing from the pass, which is exactly where beginners rush and step.
Progression: Vary the catch — a one-foot landing, a two-foot landing, then catching while turning in the air.
2. The one-two stop
Setup: Groups of four in a line, two balls, four cones marking a running lane.
Run it: Players run at pace toward a cone, receive a pass, and stop using a one-two landing — first foot, then second foot — coming to a balanced, complete stop. Hold for two seconds, pass, and jog to the back of the line.
Why it works: Most stepping calls are balance failures at speed, not rule confusion. This drills stopping under momentum.
Coaching point: A shuffling grounded foot is usually caused by landing on the heel. Correct the landing mechanics and the pivot cleans itself up.
3. Captain’s wheel
Setup: One player in the middle, five or six in a circle around them, one ball.
Run it: The centre player passes to each teammate in sequence and receives the return, working around the circle. Rotate the centre player every 60 seconds so everyone gets a turn.
Why it works: High passing volume, no queue standing idle, and it forces the centre player to reset their feet between every pass.
Progression: Add a second ball travelling in the opposite direction, or change the required pass type each lap. Our passing drills guide breaks down the chest, bounce, shoulder and overhead pass in detail.
4. Grid escape
Setup: Divide a third of the court into four or six squares with cones. One player per square, plus one defender who can move anywhere.
Run it: Players must stay inside their square and move the ball between squares. If a pass is intercepted, the defender swaps in with the player who threw it.
Why it works: This is the cure for the “beehive,” where every child chases the ball. Fixing players in place makes the value of spacing obvious in a way that telling them never does.
Teaching cue: Explain court areas to young children as backyards — you may visit some, never others. It makes the idea of being offside intuitive before they learn the word.
5. Hold the distance
Setup: Pairs, one ball, plus a coach or third player feeding.
Run it: The attacker receives a pass and lands. The defender’s job is to hold the legal distance with arms up and stay there — including when the attacker pivots and the nearest point of the landing foot shifts. The attacker pivots three times; the defender adjusts each time. Then swap.
Why it works: It replaces the common but wrong instinct of leaping backwards on every catch. Defenders do not have to retreat — they simply must be at the legal distance to contest the ball. Standing off hands the attacker free space.
Rules note: Under full rules the defender’s nearer foot must be at least 0.9m from where the ball-carrier’s landing foot is grounded, and must re-set that distance if the attacker pivots. Junior futureFERNS grades use a slightly larger 1m gap.
Coaching point: Arms straight up, not leaning forward. Leaning shifts weight over the attacker and draws a contact call.
6. Clockwork shooter
Setup: Five cones in an arc around the post, at the height appropriate to the age group.
Run it: Players must score from position one before advancing to position two, and so on around the arc.
Why it works: Early success builds confidence, and the widening angles teach players to adjust the power of their shot.
Coaching cues: Power comes from the knees, not the arms. The ball rests on the fingertips of the shooting hand, with the other hand steadying only, and players hold the follow-through until the ball drops. There is more in our shooting drills guide.
Match the equipment to the age group
The fastest way to ruin a young player’s technique is to hand them adult gear. A child who cannot reach the ring will throw two-handed from the chest, and that habit takes years to undo. New Zealand’s Woolworths futureFERNS programme sets age-appropriate ball sizes, goal heights and game formats so children learn on equipment scaled to them.
| Year group | Ball | Goal height | Court & team | Key rule tweaks |
|---|---|---|---|---|
| Years 1–2 | 20cm grip ball | Hoop up to 2.1m | 4 v 4, one third (lengthways) | 5 seconds; passers and shooters not defended |
| Years 3–4 | Size 4 | 2.1–2.6m | 5 v 5, two-thirds | 5 seconds; 1m defending distance |
| Years 5–6 | Size 4 | 2.6m | 6 v 6, full court | 5 seconds; 1m defending distance |
| Years 7–8 | Size 5 | 3.05m | 7 v 7, full court | 3 seconds; 0.9m defending distance |
In short: Years 1–2 play a no-pressure introductory game with hula-hoops or low hoops and a soft grip ball; Years 3–6 stay on a size 4 ball with goals at 2.1–2.6m; and the full size 5 ball on a 3.05m post arrives at Years 7–8, along with the full three-second and 0.9m rules. Netball New Zealand has confirmed that Year 5–6 will begin transitioning toward the seven-a-side game from 2027, but nothing changes for the 2026 season. If you are buying a post for a club or backyard, our netball hoop guide covers the official ring, post and net specifications.
A 45-minute beginner session plan
A good junior session keeps the ratio of moving to standing high, teaches one thing at a time, and finishes with a game so players leave wanting more. The plan below strings the six drills above into a single 45-minute session for a squad of eight to fourteen.
| Time | Segment | What you run | Focus |
|---|---|---|---|
| 0–5 min | Warm-up | Jog, dynamic stretches, quick-feet through a cone ladder | Raise heart rate, wake up the ankles |
| 5–12 min | Footwork | Freeze and pivot | Clean landings and legal pivots |
| 12–20 min | Passing | Captain’s wheel, then the one-two stop | Passing volume and stopping at speed |
| 20–28 min | Spacing | Grid escape | Court awareness; curing the beehive |
| 28–35 min | Defending & shooting | Hold the distance, then clockwork shooter | Legal defending and confident shooting |
| 35–43 min | Small-sided game | Half-court game applying the day’s skills | Putting it together under light pressure |
| 43–45 min | Cool-down | Easy stretch and one coaching message | Recover; reinforce a single takeaway |
Two habits make any plan run better. First, cap each explanation at about 30 seconds — children learn by doing, not by listening. Second, end on the single most important point of the session rather than a long summary, because that is the one thing they will remember at the next training.
Common mistakes new coaches make
Most first-season coaching problems are predictable, and all of them are fixable.
- Long lines. A queue of players waiting for one ball is wasted time. Use more balls, smaller groups and drills like Captain’s wheel that keep everyone active.
- Coaching the pass before the feet. Stepping calls usually trace back to a poor landing. Fix the landing and the passing footwork follows.
- Adult gear too early. Balls and hoops that are too big or too high force bad technique. Scale the equipment, not the expectations.
- Teaching players to jump backwards on defence. Defenders only need the legal distance; retreating gives the attacker free space.
- Skipping the game. Children turn up to play, not to drill. Always finish with a small-sided game.
- Too much talking. Keep instructions short and let the drill do the teaching.
Sources
Frequently asked questions
What age can children start playing netball in New Zealand?
Children can begin from Year 1 (around five years old) through the Woolworths futureFERNS programme, which uses a soft 20cm grip ball, hula-hoops or hoops no higher than 2.1m, and a simple four-a-side game with no defending of passers or shooters. The format grows more like full netball each year group.
What are the best netball drills for absolute beginners?
Start with footwork before anything else. A landing-and-pivot drill such as Freeze and pivot, followed by a high-volume passing drill like Captain’s wheel, gives beginners the two skills the whole game depends on. Add spacing and defending drills once the basics look comfortable.
How do I stop young players all chasing the ball?
The “beehive” is best cured by fixing players in place. The Grid escape drill gives each child a square they must stay in, so they physically feel how spacing opens up passing lanes. Describing court areas as backyards they may or may not visit also helps.
How much equipment do I need to run a training session?
Very little. A handful of balls, a set of cones and access to a post or two are enough for every drill in this guide. Using several balls at once is the single biggest upgrade because it keeps more players active at the same time.
How long should a junior netball training session be?
Around 45 minutes to an hour works well for primary-aged players. Keep segments short, move quickly between drills, and always finish with a small-sided game so the session ends on the part children enjoy most.